

Network contact persons know the situation: After the virtual machine (VM) has been ordered via the SeviRe portal, it still needs a network substructure (also called model or application design). Until now, this required correspondence with the IT Center via e-mail.
Since this can involve a lot of back and forth, colleagues Benedikt Paffen and Philipp Tomazin from the Division Networks looked into the issue and came up with a more convenient solution.
Based on the data center fabric (Cisco APIC, SDN), a web interface was programmed for self-service, which fetches the required data from the APIC via API requests. The result: The DC Admin*.
Currently the web interface is still in the beta test phase with a few customers. For all who are interested or would like to participate in the beta test phase, we show today which functions the DC Admin provides.
What the DC Admin supports
The DC Admin offers users the great advantage that all network information about the virtual machines (VMs) is bundled in one place. The configurations can be compiled independently.
In addition, multiple VMs of the same type (same firewall settings) can be combined into one object. This makes it possible to perform desired configurations for any number of VMs at once instead of for each VM individually. This combination can also be dissolved again after the task has been completed.
Using the DC Admin
In the DC Admin, you can display different views: Live Tenants, EP Tracker, My VMs, and History.
Each view has a specific focus, which we will introduce below. All applications of the DC Admin access the same database.
Live-Tenants
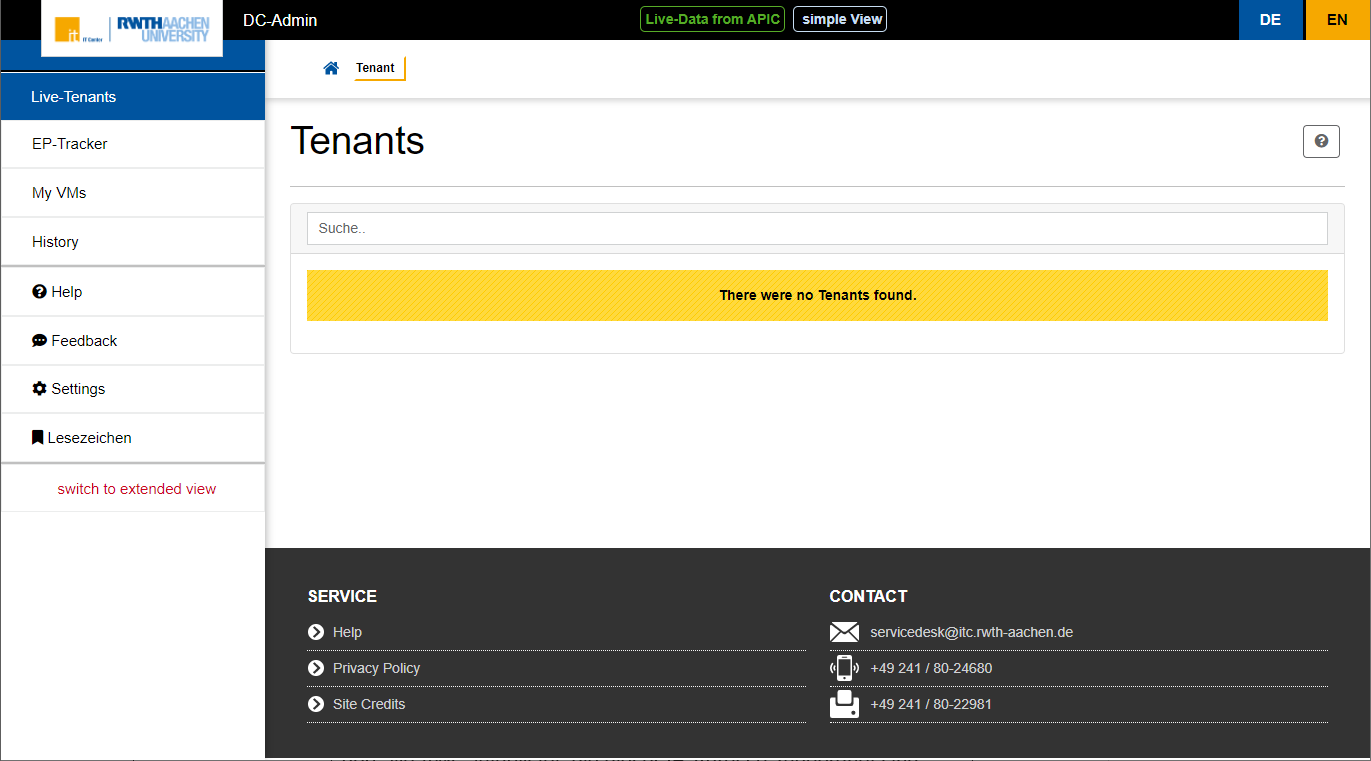
View in DC Admin: Live-Tenants
Source: Own illustration
A tenant is a logical subdivision. In DC Admin, a tenant usually corresponds to an organizational unit depending on the institute code number (IKZ).
Under Live-Tenants, all logical units to which the user is assigned are displayed. The content that is visible under Live-Tenants is determined by the networks to which the person in question is listed as a network contact.
Clicking on a tenant loads a detailed view. All VMs belonging to the network are listed there. A button can be used to query further information about the tenant, such as apps, bridged domains (subnets) and firewall drops. This makes it possible to independently view what has been configured for the individual VMs.
Users can enter the desired data themselves using the “request application profiles” button.
The request is then sent directly via DC Admin to the relevant agents. This makes a manual request via the IT-ServiceDesk unnecessary.
EP-Tracker
View in DC Admin: EP-Tracker
Source: Own illustration
Under EP-Tracker, short for EndPoint-Tracker, appears a search mask. By entering an IP address in the search field, all VMs that are assigned to this IP address are listed there. This makes it easier to navigate to the VMs you are looking for.
Since the EP-Tracker is only another view option of the same database as the view under Live Tenants, only VMs that are assigned to the person in question are displayed there accordingly.
My VMs
In the “My VMs” view, the virtual machines assigned to the person are displayed in tabular form. Each row represents a virtual machine.
For each VM, the path under which it can be found in the “Live Tenants” view is displayed. Further information such as the IP address and the Mac address are also listed in the table.
History
Under the navigation point “History”, users can see the ten most recently accessed elements. By clicking in the list, you can jump back and forth between them.
Supporting features
In addition to the views described above, the DC Admin provides other supporting navigation items.
Help
Under the point “Help” there is a collection of term explanations and descriptions for the DC Admin and the underlying database Cisco APIC. This will be extended as needed.
Feedback
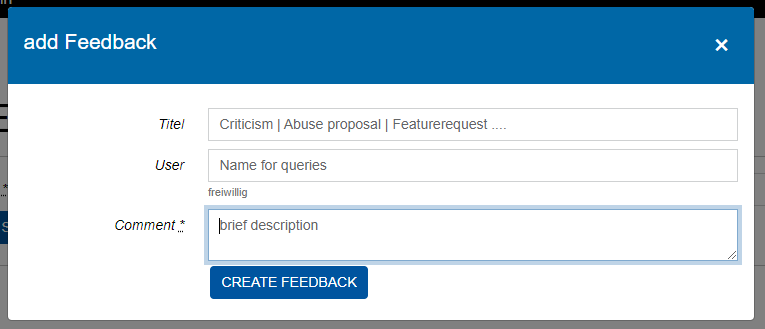
View in DC Admin: Feedback
Source: Own illustration
We are happy about feedback! This can be submitted via the navigation point “Feedback”. To do this, simply enter a suitable title in the input window. If desired, you can also enter a name. Finally, enter the appropriate comment and then submit by clicking on “Create feedback”.
Settings
Using the “Settings” navigation item, you can select personal view settings for the DC Admin. This shortens the page loading time, because only the desired content is loaded at first. If more content is needed, the other content can be loaded with a click.
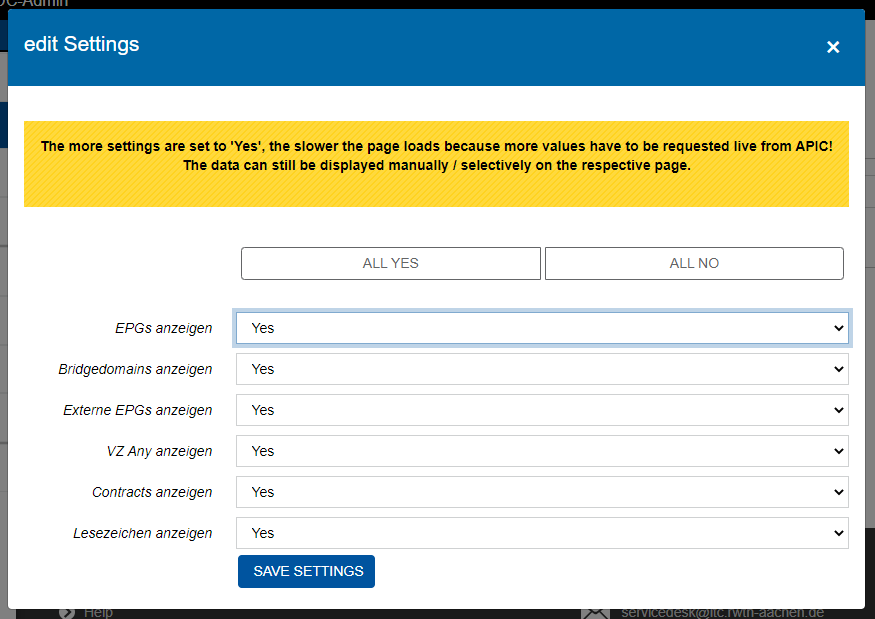
View in DC Admin: Settings
Source: Own illustration
Speaking of “View”:
The so-called “simple view” is selected by default. If desired, you can switch to an extended view by clicking on “switch to extended view”. This is especially interesting for administrators. By clicking on “switch to simple view” this can also be undone.
Bookmarks (“Lesezeichen”)
In order to access certain views more quickly, you can bookmark them. In the navigation point “Lesezeichen” you will find a kind of favorites list.
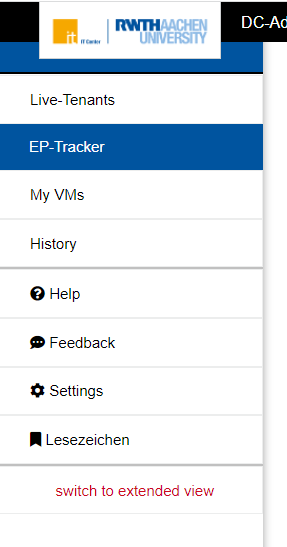
View in DC Admin: Switch View
Source: Own illustration
Comments? Questions?
We are looking forward to your feedback!
Either use the “Feedback” button described above in the DC Admin itself or send an email to the IT-ServiceDesk.
We are still looking for beta testers!
In the best case you already have a virtual machine (VM) at the IT Center. If this is not the case, it is not a problem.
Responsible for the content of this article are Linda Jörres, Lina-Louise Kaulbach, Benedikt Paffen and Philipp Tomazin.
__________________
*Project title, may change.